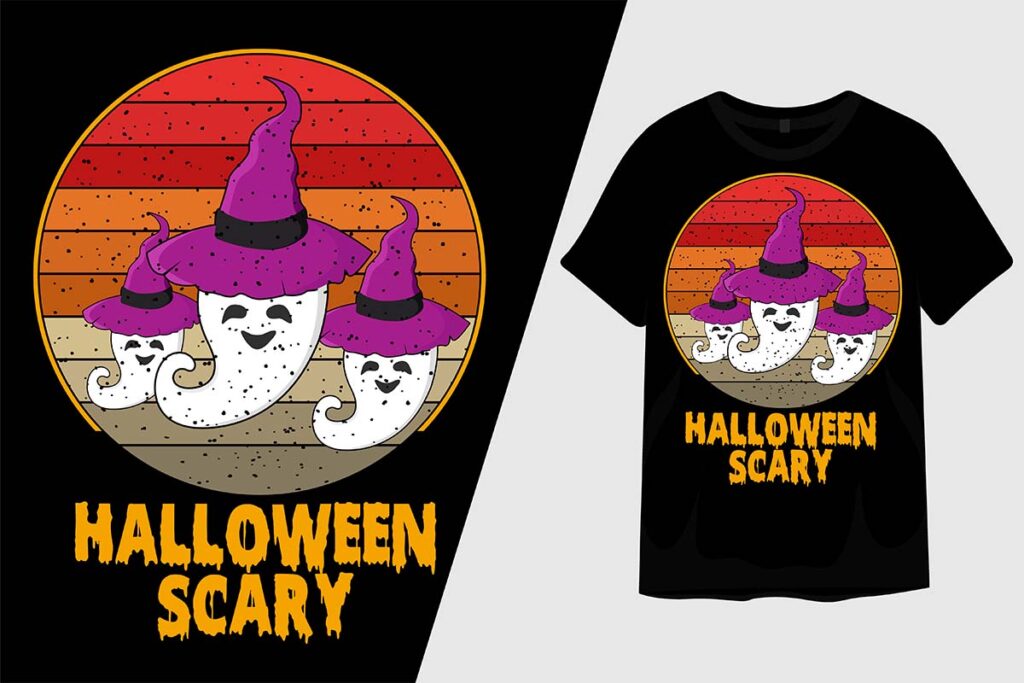
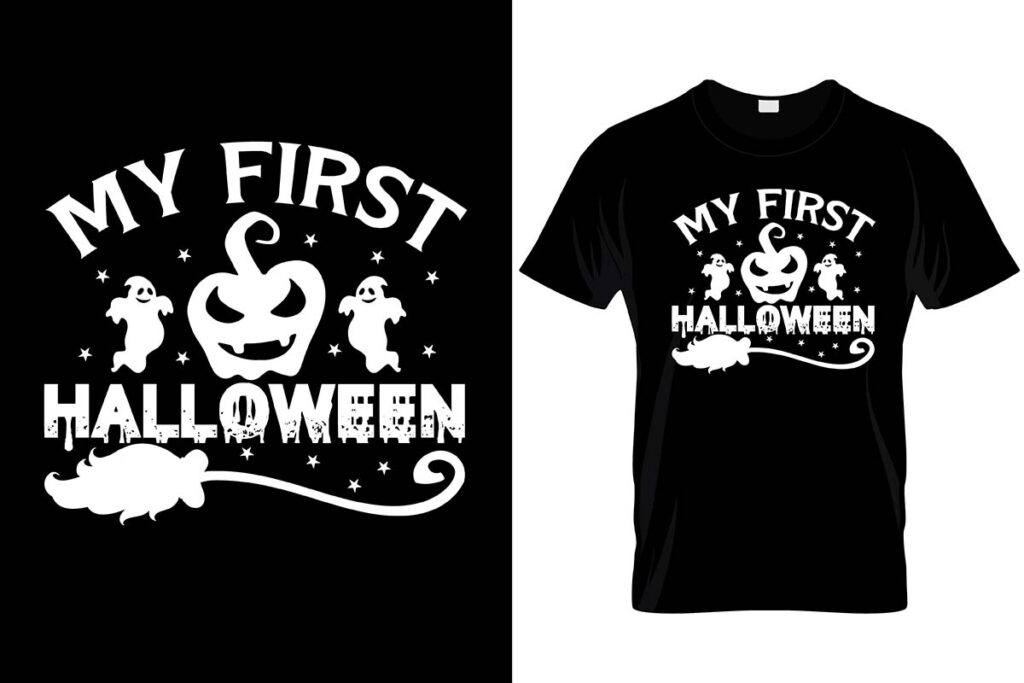
As Halloween approaches, the excitement of transforming your home into a haunted haven begins! Haunted House Transfers for DIY Halloween projects offer a unique and creative way to elevate your spooky decorations. These transfers allow you to easily apply eerie designs to various surfaces, making it simple to create a chilling atmosphere that will impress your guests. Whether you’re a seasoned DIY enthusiast or a beginner looking to add a touch of fright to your festivities, these transfers are the perfect solution for all your Halloween decorating needs.
In this article, you will learn about the different types of Haunted House Transfers available, including designs that range from classic ghosts and ghouls to intricate haunted house scenes. We will explore the materials you can use these transfers on, such as wood, fabric, and glass, ensuring that your creativity knows no bounds. Additionally, we will provide step-by-step instructions on how to apply these transfers effectively, along with tips and tricks to achieve the best results.
Moreover, we will delve into the benefits of using Haunted House Transfers over traditional painting methods, highlighting their ease of use and versatility. By the end of this article, you will be inspired to embark on your own DIY Halloween projects, armed with the knowledge and tools to create a truly haunting experience. So, grab your crafting supplies and get ready to unleash your inner artist—let’s make this Halloween unforgettable!
Understanding Haunted House Transfers
Haunted house transfers are a popular way to add spooky elements to your Halloween decorations. These transfers can be applied to various surfaces, including wood, fabric, and even glass, allowing for a wide range of creative projects. The process typically involves using heat or adhesive to apply the transfer, which features eerie designs such as ghosts, cobwebs, and haunted houses.
By understanding the different types of transfers available, DIY enthusiasts can choose the right ones for their projects. Some transfers are designed for specific materials, while others are more versatile. This knowledge is crucial for achieving the best results in your Halloween decor, ensuring that your haunted house theme comes to life in a visually striking way.
Popular Designs for Halloween Transfers
When it comes to haunted house transfers, the design options are virtually limitless. Popular themes include classic Halloween symbols like jack-o’-lanterns, witches, and bats, as well as more intricate designs featuring haunted mansions and creepy landscapes. These designs can be found in various styles, from vintage to modern, catering to different tastes and preferences.
Incorporating these designs into your DIY projects can elevate your Halloween decor. For instance, using a large haunted house transfer on a wooden sign can create a stunning focal point for your yard or porch. Additionally, smaller transfers can be used to embellish items like treat bags or tablecloths, adding a cohesive spooky theme to your Halloween celebrations.
Tips for Applying Transfers Effectively
Applying haunted house transfers can be a straightforward process, but there are some tips to ensure a successful application. First, it’s essential to prepare the surface properly by cleaning it and ensuring it’s dry. This step helps the transfer adhere better and prevents peeling or bubbling.
Another important tip is to follow the manufacturer’s instructions carefully. Different transfers may require different application methods, such as heat pressing or using a specific type of adhesive. Taking the time to understand these instructions can save you from potential mishaps and ensure that your Halloween projects turn out beautifully.
Creative DIY Project Ideas Using Transfers
There are countless creative DIY project ideas that utilize haunted house transfers. One popular project is creating custom Halloween-themed pillows by applying transfers to fabric covers. This not only adds a festive touch to your home but also allows for easy storage and reuse in future years.
Another idea is to make spooky wall art by applying transfers to canvas or wood panels. This can be a fun activity for families, allowing everyone to contribute their own designs and ideas. By mixing and matching different transfers, you can create a unique gallery wall that captures the spirit of Halloween.
Where to Find Quality Haunted House Transfers
Finding quality haunted house transfers is essential for achieving the best results in your DIY projects. Many craft stores offer a variety of transfers, but online retailers often have a wider selection. Websites specializing in craft supplies typically feature customer reviews, which can help you gauge the quality and effectiveness of the transfers before making a purchase.
Additionally, consider exploring local artisan markets or Halloween-themed pop-up shops, where you might discover unique, handmade transfers that add a personal touch to your decorations. By sourcing your transfers from reputable suppliers, you can ensure that your Halloween projects will be both beautiful and durable.
| Aspect | Description |
|---|---|
| What are Haunted House Transfers? | Haunted house transfers are decorative elements that can be applied to various surfaces to create spooky effects for Halloween. They often feature ghostly images, eerie text, and other Halloween-themed designs. |
| Materials Needed | Common materials include transfer paper, a printer, scissors, and surfaces like wood, fabric, or glass where the transfers will be applied. |
| How to Create Transfers | 1. Design your haunted house graphics using design software or find pre-made designs online. 2. Print the designs onto transfer paper. 3. Cut out the designs carefully. 4. Follow the instructions for applying the transfers to your chosen surface. |
| Application Techniques | Transfers can be applied using heat (iron-on method), water (for water-slide transfers), or adhesive (for sticker-like applications). Each method has specific instructions for best results. |
| Creative Ideas | Use transfers to decorate pumpkins, create spooky wall art, personalize trick-or-treat bags, or enhance your haunted house setup with themed decorations. |
| Tips for Success | Ensure surfaces are clean and dry before application. Test a small area first if unsure about the transfer method. Experiment with layering different designs for a more dynamic look. |


