
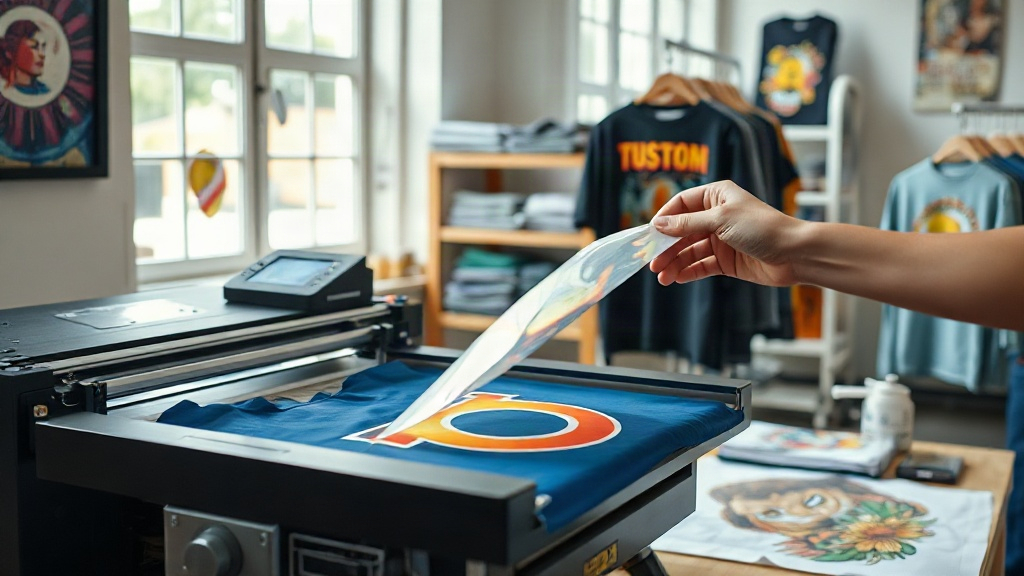
If you've been exploring custom apparel printing, you've likely encountered the acronym DTF. It stands for Direct to Film, and it's quickly becoming a favorite among crafters and small business owners. Unlike traditional methods that require specialized equipment or extensive setup, DTF printing offers a versatile and accessible way to transfer vibrant designs onto a variety of fabrics. In this guide, we'll walk you through the entire process, from understanding the basics to troubleshooting common issues, so you can confidently start your own DTF printing journey.
Whether you're a hobbyist looking to personalize t-shirts or a business owner wanting to expand your product line, DTF printing provides a cost-effective solution without compromising on quality. Let's dive in and see why this technology has captured the attention of the printing community.
What is DTF Printing?
DTF printing, or Direct to Film, is a digital printing method where your design is printed onto a special film, coated with a adhesive powder, and then heat-pressed onto fabric. Unlike DTG (Direct to Garment) printing, which prints directly onto the fabric, DTF transfers allow you to print on a wider range of materials, including cotton, polyester, blends, and even leather. The process involves several steps: designing, printing, powdering, curing, and pressing.
The key advantage of DTF is its ability to produce detailed, multi-color designs without the need for color separation or screen setup. This makes it ideal for short runs and personalized items. Additionally, the prints are durable and stretchable, making them suitable for activewear and items that undergo frequent washing.
The DTF Printing Process Step by Step
To give you a clear picture, here's a breakdown of the DTF printing workflow:
- Design Preparation: Create your artwork in a graphic design software, ensuring it's mirrored (unless your printer software handles it automatically).
- Printing: Use a DTF printer with specialized inks to print the design onto a PET film. The printer lays down a white ink layer first (for opacity) followed by the color layers.
- Powdering: While the ink is still wet, apply a thermoplastic polyurethane (TPU) powder evenly over the printed film. Shake off excess powder.
- Curing: Place the film in a curing oven or under a heat press to melt the powder. This creates a flexible, adhesive layer.
- Transfer: Position the film onto your fabric and apply heat and pressure with a heat press. The adhesive melts and bonds the design to the fabric.
- Peel: Once cooled, peel off the film. Your design is now permanently transferred.
Each step requires attention to detail, but with practice, you'll develop a rhythm. The beauty of DTF is that you can print multiple designs on a single film, store them, and press them on demand.
Why Choose DTF Printing?
There are several reasons why DTF printing has gained popularity:
- Versatility: Works on almost any fabric, including cotton, polyester, nylon, and leather.
- No Weeding: Unlike vinyl, there's no tedious weeding process, saving time and reducing waste.
- Detailed Designs: Capable of reproducing fine details, gradients, and photographs with high accuracy.
- Durability: Prints resist cracking, peeling, and fading, even after multiple washes.
- Cost-Effective: Low initial investment compared to screen printing or DTG, and affordable for small batches.
For those who want to offer custom apparel without the complexity of traditional methods, DTF is a compelling option.
DTF vs. Other Printing Methods
How does DTF stack up against other popular techniques? Here's a quick comparison:
- DTF vs. DTG: DTG prints directly onto fabric, often requiring pre-treatment and limited to cotton. DTF transfers can be used on more fabrics and don't require pre-treatment, but involve an extra transfer step.
- DTF vs. Vinyl: Vinyl requires weeding and layering for multi-color designs. DTF handles complex designs in one go and is softer to the touch.
- DTF vs. Screen Printing: Screen printing is cost-effective for large orders but requires setup per color. DTF is better for small batches and detailed designs without setup fees.
Each method has its place, but DTF shines for its flexibility and ease of use.
Getting Started with DTF Printing
Ready to try DTF printing? Here's what you'll need:
- DTF Printer: A dedicated printer that uses DTF inks. Some modified inkjet printers can work, but dedicated models offer better reliability.
- DTF Inks: Special pigment inks designed for DTF printing.
- PET Film: Transparent film sheets that hold the printed design.
- TPU Powder: Adhesive powder that melts to bond the design to fabric.
- Heat Press: For curing the powder and transferring the design.
- Curing Oven (optional): For consistent curing, but a heat press can also be used.
Start with a small setup to test the waters. Many suppliers offer starter kits that include everything you need.
Tips for Successful DTF Printing
To ensure great results, keep these tips in mind:
- Maintain Your Printer: Regular cleaning and maintenance prevent clogged nozzles and ensure consistent prints.
- Use Quality Supplies: Cheaper films or powders can lead to poor adhesion and durability.
- Test Your Settings: Each fabric may require different heat press settings. Always do a test press.
- Store Films Properly: Keep printed films in a cool, dry place to prevent the powder from absorbing moisture.
- Practice Peeling: Peel the film either hot or cold depending on the adhesive; find what works best for your setup.
With a bit of experimentation, you'll find your sweet spot.
Common Challenges and Solutions
Even with the best setup, you might encounter issues. Here are some common problems and how to fix them:
- Poor Adhesion: Usually caused by insufficient pressure, temperature, or time. Increase these gradually until the design sticks.
- Cracking: Over-stretching the fabric or under-curing the powder can cause cracks. Ensure proper curing and avoid stretching the print when hot.
- Dull Colors: This can happen if the white ink layer is too thin or if the powder isn't fully melted. Check your printer settings and curing process.
- Film Jams: Ensure your printer is set up correctly and use high-quality film to avoid jams.
Most issues are solvable with minor adjustments. Join online forums or communities for troubleshooting advice.
Frequently Asked Questions
What fabrics can I use with DTF printing?
DTF printing works on a wide range of fabrics, including cotton, polyester, blends, nylon, and leather. It's particularly useful for fabrics that are difficult to print on with other methods.
How durable is a DTF print?
When properly applied, DTF prints are highly durable. They can withstand multiple washes without fading, cracking, or peeling. Following the correct heat press settings and washing inside out will extend the life of the print.
Do I need a special printer for DTF?
While you can convert some inkjet printers, dedicated DTF printers are recommended for best results. They are designed to handle the viscous DTF inks and provide consistent output.
Can I print white ink with DTF?
Yes, one of the advantages of DTF is the ability to print white ink, which is essential for vibrant designs on dark fabrics. The white layer acts as a base for the colors.
How do I store DTF films?
Store printed DTF films in a cool, dry place, away from direct sunlight. Excess moisture can affect the powder, so sealing them in a plastic bag with desiccant packs is a good practice.
Conclusion
DTF printing opens up a world of possibilities for custom apparel. Its versatility, durability, and ease of use make it an attractive option for both beginners and experienced printers. By understanding the process, investing in quality supplies, and practicing, you can create stunning, long-lasting designs that impress your customers or elevate your personal projects. So why not give DTF printing a try? With the right approach, you'll be producing professional-grade apparel in no time.