
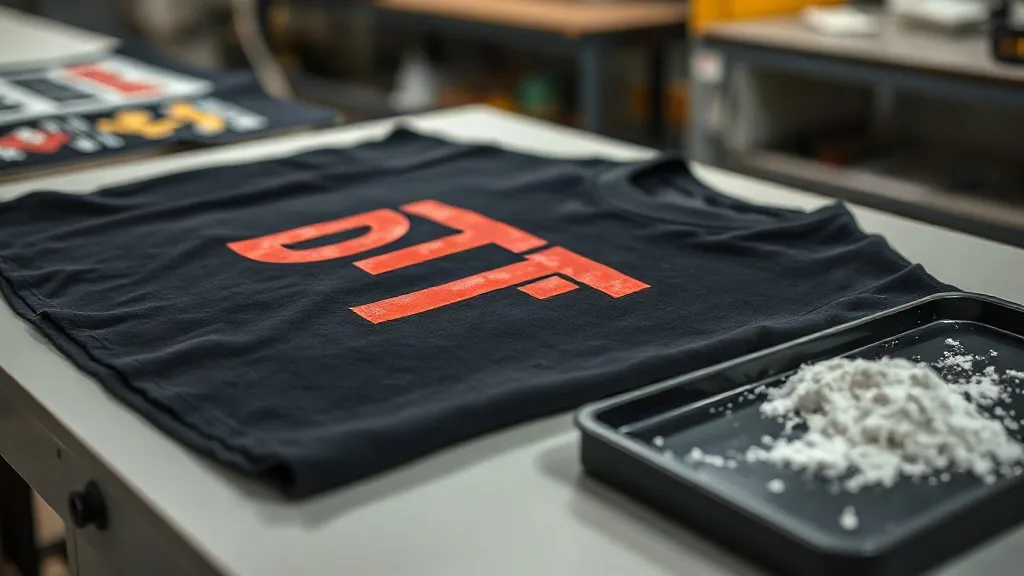
Dark garments have a reputation for being unforgiving. A black cotton tee is one of the most popular blanks in custom apparel, yet it exposes every weakness in a print setup: thin opacity, dull colors, and a stiff hand-feel that customers notice immediately. If you have tried screen printing on dark shirts, you know the extra flash cure and the thick ink deposit required to make white ink behave. dtf transfers take a different route, and once you understand how the white ink layer behaves, dark fabrics stop being a problem and start being your best-selling product line.
This guide is not about fixing a broken printer or rescuing a peeling transfer. It is about the specific decisions that separate a dark-fabric dtf job that looks sharp and survives fifty washes from one that looks chalky, cracks at the shoulder seam, or fades into a gray ghost after two cycles. We will cover white ink coverage, powder application, press settings, garment selection, and the small workflow habits that make dark prints repeatable.
Why Dark Fabrics Change the DTF Equation
A DTF transfer is a layered structure: a printed image on film, a white ink base, and a hot-melt adhesive powder that bonds the whole stack to the fabric. On a white shirt, the white ink base is nearly invisible because it matches the garment. On a black shirt, that white layer becomes the background of your entire design. Every gap, every thin spot, and every misregistration in the white layer shows up as a lighter or darker patch once pressed.
The white ink in DTF is pigment-heavy and requires a specific cure window. If it is undercured, the powder will not anchor properly and the transfer will peel at the edges. If it is overcured, the ink film becomes brittle and cracks along stretch lines. Dark fabrics amplify both failures because the contrast between the white base and the black garment makes any defect visible from across the room.
Color management also shifts on dark garments. A bright red logo printed on black will look darker than the same red on white because the white base is not perfectly opaque. This is not a printer fault; it is physics. The solution is to adjust your color profiles for dark-garment jobs and to test how much white ink your rip software is laying down before you commit to a full run.
White Ink Coverage: The Layer That Decides Everything
The single biggest variable in dark-fabric DTF printing is white ink coverage. Too little, and the design looks washed out and the garment color bleeds through. Too much, and the transfer feels rubbery and cracks when stretched. The goal is a white base that is opaque enough to block the fabric but thin enough to flex with the shirt.
How to Judge White Ink Density
Hold a freshly printed film up to a light source before powdering. A well-calibrated white layer should look solid and slightly milky, with no visible pinholes or streaks. If you can see the light through the design area, the white ink is too thin. If the film feels heavy and the ink looks almost like a plastic sheet, you are over-inking and will pay for it in hand-feel and durability.
Most modern DTF printers allow you to adjust white ink density as a percentage in the rip software. For dark garments, start around 85 to 95 percent and test on the actual fabric you plan to sell. Cotton and cotton-poly blends absorb ink differently, and a density that works on a 100 percent cotton tee may be too heavy on a polyester performance shirt.
Color Profiles for Dark Garments
Your CMYK layer sits on top of the white base, and the white base reflects light back through the color inks. On dark fabrics, increasing the color ink density slightly (around 5 to 10 percent) can help compensate for the darker background. Do not overdo it; too much color ink on top of a thick white base can cause the transfer to feel tacky and can slow down the curing process.
If you are printing a design with fine details, thin lines, or small text, run a test press on a scrap of the same dark fabric before starting the order. Small elements are the first to lose definition when the white base is uneven, and a two-minute test saves a stack of ruined blanks.
Powder Application on Dark Transfers
Powder is the adhesive that bonds the transfer to the fabric, and on dark garments, powder mistakes are more visible because the white base is the backdrop. A thin spot in the powder shows up as a matte patch that will not bond, while an excess of powder creates a rough, sandy texture that feels unpleasant and can leave a halo around the design after pressing.
Shake the powder evenly across the wet white ink and then tilt the film to let the excess fall away. Do not tap the film aggressively; you want a uniform layer, not a compressed one. For dark fabrics, a slightly heavier powder coat is acceptable because the white base is thicker, but it should still look like a fine dusting, not a crust.
Curing the powder is where many shops get into trouble. The powder needs to melt into a smooth, slightly glossy film. If it stays matte and grainy, the heat is too low or the dwell time is too short. If it turns shiny and the film starts to curl, you are close to overcuring. A infrared thermometer or a heat gun with a surface probe helps you confirm that the powder reaches its melt point without scorching the film.
Press Settings for Dark Garments
Pressing a DTF transfer onto a dark shirt is not the same as pressing onto a light one. The darker fabric absorbs heat differently, and the white ink base needs a full, even bond to avoid the dreaded edge peel. Here are the settings that work for most cotton and cotton-poly blends, but always verify with a test press.
- Temperature: 300 to 320 degrees Fahrenheit (150 to 160 degrees Celsius). Stay at the lower end for polyester and the higher end for 100 percent cotton.
- Pressure: Medium to firm. You want the transfer to sink into the fabric weave slightly, but not so much that the white base squashes out and creates a hard edge.
- Time: 10 to 15 seconds for the initial press, then peel the film warm. A second press of 5 to 8 seconds with a cover sheet improves adhesion on textured fabrics.
- Peel direction: Peel in one smooth motion, ideally from a corner, and keep the angle low to the fabric. Ripping upward can stretch the warm transfer and cause waves in the design.
If you are pressing a large design that covers a seam or a pocket, use a pressing pillow or a folded towel to raise the seam area so the transfer makes full contact. Dark garments with heavy seams are the most common source of partial adhesion, and a pillow solves the problem in seconds.
Choosing the Right Dark Blanks
Not all dark fabrics are equal. Ring-spun cotton takes DTF transfers beautifully because the tight weave gives the powder plenty of surface to grab. Open-weave or heavily textured fabrics, such as slub cotton or certain poly blends, can leave tiny gaps where the transfer does not bond, and those gaps become peel points after washing.
Black polyester is a special case. Polyester dyes can sublimate into the white ink layer when heated, causing a pink or gray tint to appear in the white areas. This is called dye migration, and it is more common on cheap poly blanks and on garments that have been stored in humid conditions. If you print on polyester, use a low-bleed white ink if your printer supports it, and keep your press temperature at the lower end of the range. A test press left overnight will reveal whether migration is a risk.
For shops selling premium dark tees, consider a 100 percent ring-spun cotton blank with a tight knit. The extra cost per shirt is small compared to the cost of a failed print run, and the hand-feel of a DTF transfer on a soft cotton tee is much better than on a stiff, open-weave fabric.
Wash Durability: What to Expect on Dark Prints
Customers judge a custom shirt by how it looks after a few trips through the laundry. On dark garments, the failure modes are visible: the white base can crack along fold lines, the edges can lift, and the color can fade if the powder bond is weak. A properly applied DTF transfer on a compatible dark fabric should survive 50 or more home wash cycles without cracking or peeling, but that number depends on the variables above.
To improve wash durability, press the transfer a second time after the initial peel. A 5-second press with a cover sheet (a Teflon sheet or a piece of parchment paper) re-melts the powder and pushes it deeper into the fabric weave. This step is especially important on dark garments because the thicker white base needs more heat energy to bond fully.
Wash the garment inside out in cold water and tumble dry on low. High heat is the enemy of any heat-applied transfer, and dark garments absorb more heat in the dryer than light ones. A simple care card included with each order can reduce returns and protect your reputation.
Finding Reliable DTF Supplies and Service
If you are not printing in-house, sourcing consistent transfers is just as important as mastering the press. Searching for dtf transfers near me often turns up local shops that can turn around small orders quickly, but quality varies widely. Ask for a sample on the exact fabric you plan to use, and check the white ink density and powder coverage under good light before committing to a bulk order.
For shops that print their own transfers, keep a log of settings for each dark fabric you use. Record the white ink density, powder type, press temperature, pressure, and time. After a few jobs, you will have a repeatable recipe that removes the guesswork and lets you quote dark-garment orders with confidence.
Frequently Asked Questions
Can I use DTF transfers on black polyester shirts without dye migration?
Yes, but you need to manage heat carefully. Use a low-bleed white ink if available, keep the press at the lower end of the temperature range (around 300 degrees Fahrenheit), and avoid over-pressing. Test a sample and let it sit overnight to see if any tint appears in the white areas before running a full order.
Why does my white ink look gray or dull on dark shirts?
Dull white usually means the white ink layer is too thin or the powder did not melt fully. Check your white ink density settings and increase them slightly, and verify that your curing temperature is high enough to melt the powder into a smooth film. Also confirm that the film you are using is designed for dark-garment white ink.
How do I stop DTF transfers from peeling at the edges on dark fabrics?
Edge peel is usually a pressure or coverage problem. Make sure the transfer makes full contact with the fabric, especially over seams, and use a pressing pillow if needed. A second press with a cover sheet after peeling the film can also improve edge adhesion significantly.
Do dark garments need a different press time than light garments?
Not necessarily a longer time, but often a slightly firmer pressure. Dark fabrics, especially black cotton, tend to be denser, and the thicker white ink base needs a full bond. Start with 12 to 15 seconds at medium-firm pressure and adjust based on your test press results.