
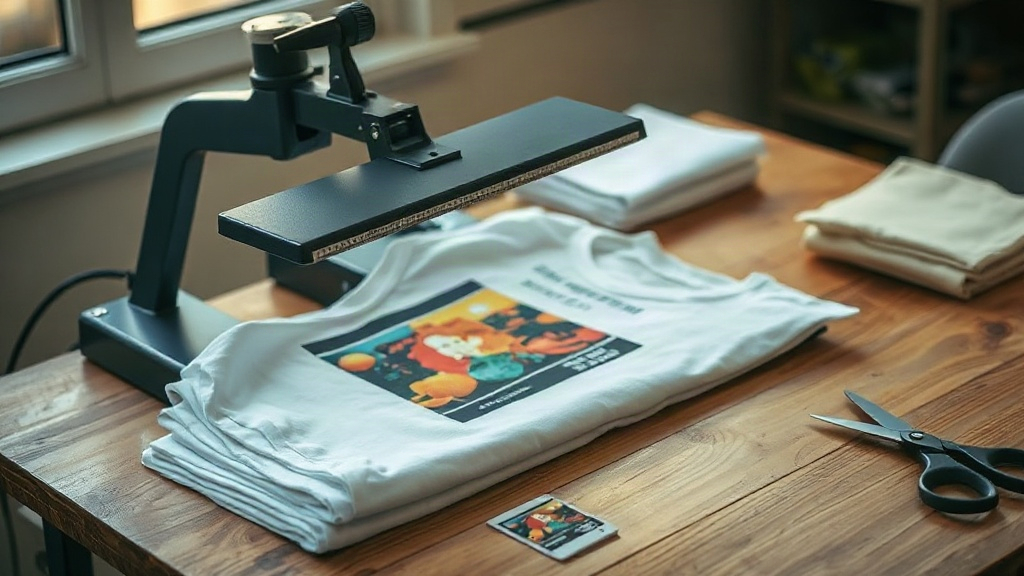
If you have spent any time around custom apparel, you have probably noticed DTF Transfers popping up everywhere, from small Etsy shops to local print stores. They promise full-color prints on almost any fabric without the setup costs of screen printing or the color limitations of vinyl. That promise is real, but only if you understand how the material actually behaves. This guide walks through what DTF Transfers are, how to press them properly, and where most beginners go wrong.
What Exactly Are DTF Transfers?
DTF stands for direct-to-film. A printer lays down a layer of white ink, then color inks on top, onto a special PET film. While the ink is still wet, a fine layer of hot-melt adhesive powder is applied, and the film is cured. The result is a flexible, pre-formed transfer you can store, ship, and press onto a garment whenever you need it.
The key difference from DTG (direct-to-garment) is that nothing is printed directly onto the shirt. The design lives on the film until heat and pressure bond it to the fabric. That separation is what makes DTF Transfers so versatile. You can press them onto cotton, polyester, blends, canvas, and even some nylon, and you do not need to pretreat the garment the way DTG often requires.
Why the White Ink Layer Matters
On dark garments, the white ink layer is what makes colors pop. Without it, a yellow design on a black shirt would look muddy and washed out. The white layer also acts as a base that the adhesive bonds through, which is why a properly pressed DTF print feels like part of the fabric rather than a plastic patch sitting on top of it.
How to Press DTF Transfers Correctly
Pressing is where most people either succeed or fail. The film is forgiving, but it is not magical. Temperature, pressure, and time all have to line up. Here is a working method you can start with.
Step 1: Pre-Press the Garment
Give the shirt a quick press for five to ten seconds before laying down the transfer. This removes moisture and wrinkles, and it gives you a flat surface. Skipping this step is one of the most common reasons prints peel later, because trapped moisture turns to steam under the press and lifts the adhesive.
Step 2: Position and Press
Place the transfer with the printed side down against the fabric. Set your heat press to around 300 to 320 degrees Fahrenheit, use medium to firm pressure, and press for 10 to 15 seconds. Do not use a household iron if you can avoid it. Irons heat unevenly and cannot apply consistent pressure, which leads to partial adhesion and edges that curl after a few washes.
Step 3: Peel and Post-Press
Wait until the film is cool to the touch, then peel it away slowly. A cold peel gives the adhesive time to set and usually produces cleaner edges. After peeling, cover the print with parchment or a Teflon sheet and press again for five to ten seconds. This second press is not optional if you want durability. It fully activates the adhesive and smooths the surface.
Common Mistakes That Ruin DTF Prints
- Pressing too hot. Above roughly 340 degrees, the film can wrinkle and the adhesive can scorch, leaving a dull finish.
- Using light pressure. Weak pressure means the powder does not fully bond, so the print starts lifting at the corners.
- Peeling hot. Tearing the film off while it is still warm stretches the ink and leaves jagged edges.
- Skipping the second press. Many people assume the transfer is done after the first press, then blame the film when the print cracks.
- Storing transfers poorly. Dust and humidity degrade the adhesive powder, so keep unused sheets in a sealed bag away from sunlight.
Choosing the Right Fabric for DTF
DTF Transfers work on a wider range of materials than most decoration methods, but that does not mean every fabric behaves the same. Cotton takes the adhesive beautifully and produces a soft hand feel. Polyester blends are also fine, though very high-polyester performance fabrics with a slick finish can be trickier because the adhesive has less texture to grip.
Stretch fabrics deserve a mention. If you press onto spandex or a stretchy athletic blend, use a slightly lower temperature and stretch the garment gently before pressing so the print is not applied to a compressed surface. This reduces the chance of cracking when the fabric moves.
Washing Instructions You Should Pass to Customers
Tell anyone receiving a DTF-printed garment to wash it inside out in cold water and tumble dry on low or hang dry. Avoid fabric softener and do not iron directly over the print. These small habits add months to the life of the design, and they cost the customer nothing.
Where DTF Fits in a Print Business
If you run a small shop, DTF Transfers fill a useful gap. They handle small runs and one-off designs without the per-color setup fees of screen printing, and they handle full-color photographic artwork better than vinyl. For orders under a few dozen pieces, DTF is often the most economical choice, especially when the design has gradients, fine detail, or many colors.
The tradeoff is that very large runs are usually cheaper with screen printing, and the hand feel of DTF is slightly thicker than a well-printed screen print. Knowing where each method wins lets you quote jobs honestly instead of forcing one technique onto every order.
Frequently Asked Questions About DTF Transfers
How long do DTF transfers last on a shirt?
With correct pressing and normal washing, a DTF print typically lasts through dozens of wash cycles. The two biggest factors are the second press after peeling and avoiding hot water or high dryer heat. Prints that fail early almost always trace back to one of those two issues.
Can I press DTF transfers with a regular iron?
You can, but results are inconsistent. An iron cannot apply even pressure across the whole design, so edges and corners often lift. If you are serious about selling printed apparel, a heat press pays for itself quickly in reduced reprints and happier customers.
Do DTF transfers work on dark and light shirts?
Yes. The white ink base layer is what allows colors to stay vivid on dark garments. On light shirts, the same transfer works fine, though some printers offer a thinner white layer option for a softer feel when the background is light.
What temperature should I use for DTF transfers?
A good starting range is 300 to 320 degrees Fahrenheit with medium to firm pressure for 10 to 15 seconds. Adjust slightly depending on your press and fabric, and always test on a scrap garment before running a full order.
Can DTF transfers be applied to cotton and polyester blends?
Absolutely. Cotton, polyester, and most blends all accept DTF well. The main caution is with slick, high-performance polyester fabrics, where a slightly lower temperature and careful pressure help the adhesive bond without scorching.