
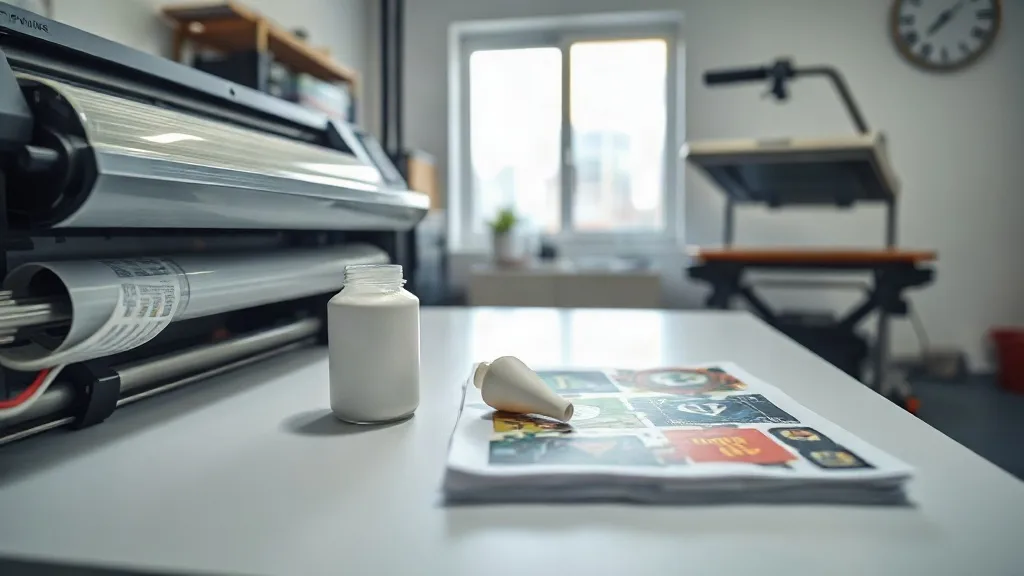
Most print shops obsess over press settings and ink profiles, then lose money on the things they never think to question: the film under the ink, the powder that fuses it, and how tightly a DTF Gangsheet is packed. These three choices decide your real cost per transfer long before the heat press ever warms up. Get them right and a profitable job stays profitable. Get them wrong and even a full-price order can quietly bleed cash.
This is not a pitch for the most expensive supplies on the shelf. It is a practical look at how media decisions interact with layout, how to test them without wasting a roll, and where the hidden costs usually hide.
Why Media Choices Matter More Than Your Press Settings
Press temperature and pressure are easy to tweak and easy to blame. Media is different. A film that releases poorly, a powder that clumps in humid air, or a sheet that leaves a third of the roll unused all cost you money on every single job, not just the bad ones. Because these costs are baked into the workflow, they rarely show up as a line item. They show up as a margin that feels thinner than it should.
Think of a DTF Gangsheet as a small manufacturing run. Every square inch of film is material you paid for, every gram of powder is money, and every minute of press time has a value. Media and layout are the two levers that control all three. Before you buy a new film or change powder suppliers, it helps to understand how each one behaves in real production, not just in a spec sheet.
The Film: Where Most Gangsheet Waste Begins
Film is the biggest variable cost in DTF printing, and the easiest to overpay for without noticing. Two rolls can look identical and behave completely differently on the same printer.
What to Actually Look For in a Roll
- Coating consistency: Run your finger across the surface. Uneven coating shows up later as patchy ink adhesion or transfers that peel at the edges after a few washes.
- Release behavior: The film should let go of the transfer cleanly after pressing. Film that fights you slows every order and raises the odds of a ruined garment.
- Thickness and curl: Thin film feeds faster but curls at the edges, which causes jams and misaligned prints. A slight curl is normal; a roll that will not lie flat is a problem.
- Width versus your printer: A roll wider than your print area is wasted material on every job. Match width to your most common sheet size.
None of this requires lab equipment. Print a small test sheet on a new roll, press it onto a scrap shirt, and wash it twice before you commit to a bulk order. Ten minutes of testing beats a month of reprints.
Cold Peel, Warm Peel, and What It Costs You
Peel behavior affects your labor, not just your quality. Cold peel films demand patience: the transfer has to cool completely before you pull the carrier. That waiting time stacks up across a busy day. Warm peel films let you move faster, but they can be less forgiving if your press runs hot. If your shop handles high volumes, the time saved with a warm peel film can outweigh a slightly higher roll price. If you print in small batches and value consistency, cold peel is often the safer bet.
Powder: The Quiet Cost Center
Adhesive powder is cheap per gram, which is exactly why shops ignore it. But powder problems create expensive rework, and rework is where margins die.
Humidity is the usual culprit. Powder left open in a damp room absorbs moisture, clumps, and fuses unevenly. The result is transfers that feel gritty, crack after washing, or fail to bond at all. Store powder in sealed containers with a desiccant pack, and never leave the shaker open between jobs. A simple habit of closing the lid saves more money than switching to a premium brand.
Powder application technique matters too. Too much powder creates a stiff, plasticky hand feel that customers notice immediately. Too little leaves weak adhesion. Shake evenly, tap off the excess, and cure at the temperature your powder manufacturer specifies, not the one you remember from a forum post. When you evaluate a new powder, test it on the same film and fabric you use most, because powder behavior changes with both.
Layout: The Lever You Control Every Single Day
Film and powder are purchasing decisions. Layout is a daily habit, and it is where the biggest savings live. A DTF Gangsheet that leaves large gaps between designs is a sheet you are paying for twice: once for the unused film, and again when you reprint because a design was placed too close to the edge.
Practical Rules for Tighter Sheets
- Group designs by size, not by order. Small logos nest together far more efficiently than a mixed sheet.
- Leave a consistent margin around each design, usually a few millimeters, enough to cut cleanly without bleeding into a neighbor.
- Rotate designs where the artwork allows it. A rotated logo can fill a gap that would otherwise be waste.
- Fill edge space with small add-ons like sleeve prints or pocket logos instead of leaving it empty.
- Keep a running list of common sizes so your next sheet starts from a proven layout, not a blank canvas.
Software helps, but the habit matters more. A shop that reviews every sheet before sending it to print will consistently waste less film than one that relies on auto-nesting alone. Auto-nesting is a starting point, not a finished sheet.
Matching Media to Fabric and Customer Expectations
Not every transfer needs the same setup. Cotton tees tolerate a wider range of film and powder combinations than polyester blends, which are more sensitive to press temperature and can show a glossy sheen if the powder over-cures. Workwear and bags need stronger adhesion than a fashion tee that will be washed gently. Keeping two film options and one reliable powder on hand usually covers most shops. Adding a third film only makes sense when a specific customer segment justifies it.
Customer expectations matter as much as fabric. A soft hand feel sells premium apparel; durability sells uniforms. Know which one you are producing before you choose media, and you avoid the classic mistake of using a heavy powder coat on a shirt meant to feel light.
How to Test New Media Without Burning a Roll
Every new film or powder deserves a trial, but a trial should not cost you a full roll. Print a single gangsheet with a mix of design sizes, press half onto cotton and half onto a poly blend, and wash both samples three times. Check edges for peeling, look for cracking across large solid areas, and feel the surface for stiffness. If all three pass, scale up gradually. If any fail, you have lost a few transfers instead of a week of orders.
Keep notes on each roll: supplier, batch, peel type, and how it performed. Over a few months you build a record that tells you exactly which media earns its place in your shop.
Frequently Asked Questions
Does cheaper film always cost more in the long run?
Not always, but often. Cheap film tends to fail at the edges or during peel, which creates rework. If a budget film passes your wash and peel tests, it can be a smart choice for low-margin work. The key is testing before you commit, not assuming price equals quality.
How much film waste is normal on a DTF Gangsheet?
Well-nested sheets usually land in the low single digits as a percentage of total film area. If you regularly see large empty gaps, the problem is layout, not the film itself.
Can I mix different film types on one sheet?
Technically yes, but it is a bad habit. Different films can cure and peel differently, which complicates pressing and quality control. Keep one film type per sheet so every transfer behaves the same way.
Why does my powder clump even in a sealed container?
Sealed is not the same as dry. Humidity gets in when the lid is open during use. Add a desiccant pack, store containers off the floor, and avoid leaving the shaker open between jobs.
Is auto-nesting enough to reduce waste?
It helps, but it is not a substitute for review. Auto-nesting does not know your cutting margins or your customer mix. A quick manual check of every sheet catches the gaps software leaves behind.