
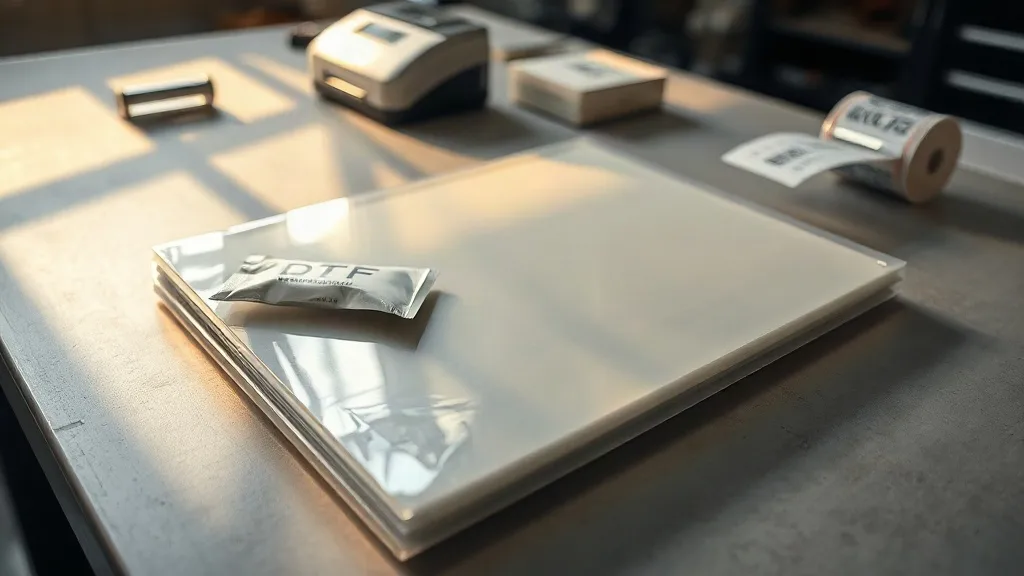
Every shop has that drawer. A stack of dtf transfers from a job that got cancelled, a sample pack you never got around to pressing, or a client order that came back half-finished. You look at the film, you look at the calendar, and you wonder whether it's still worth the powder and press time. The honest answer is that most of it is, but only if you know what you're looking at. A dtf print doesn't expire on a fixed date like milk. It degrades based on how it was stored, how much moisture it has absorbed, and how the powder cured in the first place. Learning to read those signals saves real money, and it also keeps you from pressing a transfer that will crack two washes later and cost you a customer.
Why DTF Film Has a Shelf Life at All
A finished transfer is a sandwich of three things: a printed ink layer, a hot-melt adhesive powder fused onto it, and the PET carrier film underneath. Each layer has its own weakness. The ink is water-based, which means it is constantly negotiating with humidity in the air. The powder is a thermoplastic, so it softens and re-hardens with temperature swings. The PET film is dimensionally stable but can curl if it sits in a hot room or gets stacked under something heavy.
When people ask how long dtf transfers last, the useful answer is a range, not a number. In a sealed bag with a desiccant pack at room temperature, a well-made print can stay press-ready for six months or more. Left loose on a shelf above a heat press in a humid back room, the same print might start giving you trouble in three weeks. The variable that matters most is moisture, followed closely by heat.
What Actually Goes Wrong
Three failure modes account for almost every spoiled transfer I've seen come out of storage:
- Powder reabsorption. The adhesive powder pulls moisture from the air and turns tacky or clumpy. When you press it, the powder doesn't flow evenly, so you get patchy adhesion and edges that lift after a wash.
- Ink layer separation. If the film was stored rolled too tightly or bent, the cured ink can micro-crack. It looks fine on the sheet but fractures along the cracks when stretched on a garment.
- Film curl. PET that has been exposed to heat or stored on end will curl at the corners, which makes registration on the garment difficult and can cause the edges to lift before the press closes.
The Two-Minute Test Before You Commit a Garment
Before you press an old transfer onto a shirt you actually care about, run a test on scrap fabric. This is not optional if the film has been sitting for more than a couple of months. The test costs you one press cycle and tells you everything.
- Inspect the sheet in raking light. Hold it at an angle to a window. Look for cloudy patches, visible powder clumps, or a chalky haze where the powder should be clear and even.
- Flex a corner. Gently bend one corner of the film back and forth. If the ink layer shows white fracture lines, the print is compromised. If it flexes cleanly, move on.
- Press a sample on scrap. Use your normal settings on a piece of the same fabric you'll be printing. Peel while warm or cold depending on your film type, and check the edges.
- Do a stretch and scratch test. Once cool, stretch the print firmly in both directions and scratch the surface with a fingernail. Cracking, flaking, or a powdery residue on your finger means the transfer is done.
If the sample passes all four steps, you are clear to run the batch. If it fails at step two or three, don't try to rescue it with extra pressure or a longer dwell. More heat on degraded powder usually makes the problem worse by driving the adhesive deeper into the fabric and leaving less on the surface to bond.
Storage Rules That Actually Extend Life
The good news is that the fix for most storage problems is cheap. A few habits will keep your inventory usable far longer than a shelf full of unopened film in a humid room.
Keep Prints Flat and Individually Bagged
Store finished dtf transfers flat in a sealed bag or a zip portfolio, not rolled in a tube and not stacked loose. If you have to stack, put a rigid sheet between layers so the powder side never presses into the film of the print below. Individual poly bags with a small silica desiccant pack are the simplest upgrade most shops can make, and they cost pennies per print.
Control the Room, Not Just the Drawer
A sealed bag helps, but it can't fight a room at 70 percent relative humidity forever. Keep stored film away from the press, away from exterior doors, and off the floor. If your shop runs humid in summer, a small dehumidifier near the storage shelf pays for itself in saved reprints. Avoid storing film on top of the press or against an exterior wall that sweats.
Rotate Stock Like a Kitchen
First in, first out. Label each bag with the print date and the job it belongs to. When you open a new batch, move the older prints to the front of the shelf. This one habit prevents the situation where you find a year-old stack behind three newer ones and can't remember which is which.
When It's Worth Printing Locally Instead
There is a point where reviving old film stops making sense. If you are down to a handful of prints for a job due tomorrow, or if the design has changed since you last ran it, reprinting is faster and cleaner than gambling on degraded adhesive. This is also where sourcing comes in. If you don't run your own printer, or you need a specific design back in a hurry, searching for dtf transfers near me will usually surface a local shop that can turn a gang sheet around same day. For shops that print in-house, the calculation is different: a fresh print costs you ink, powder, and a few minutes, which is almost always less than the cost of a failed press on a customer garment.
What You Can and Can't Rescue
Not every problem is fixable, and knowing the difference keeps you from wasting time. Here's how I sort a questionable stack.
- Rescuable: light film curl (flatten under a book overnight), minor edge lifting (trim the edge and re-press), slight cloudiness on the powder (usually presses out fine).
- Borderline: visible powder clumping, faint ink fractures at the corners. Test on scrap only. If it passes, use it for personal or sample pieces, never for a paid order.
- Not worth it: white fracture lines across the print, powder that feels damp or sticky to the touch, film that has yellowed, or any print that fails the stretch test. Cut your losses.
One more thing worth mentioning: the same storage discipline that protects old prints also protects your raw materials. Film and powder degrade on the shelf too, and a fresh roll stored badly will produce a bad print on day one. Treat your unopened stock with the same care as your finished transfers and you will spend a lot less time troubleshooting mystery failures.
Frequently Asked Questions
How long can I keep DTF transfers before they go bad?
In a sealed bag with a desiccant pack at room temperature and low humidity, most well-made prints stay usable for six months or longer. Loose storage in a humid or hot room can cut that to a few weeks. The storage conditions matter far more than the calendar.
Can I re-powder an old DTF transfer that has lost its adhesive?
No. Once the powder has been cured onto the ink, you cannot add more and get a reliable bond. Re-powdering a cured print leaves loose adhesive that contaminates your press and produces a weak, uneven bond. If the adhesive is compromised, reprint instead.
Why do my old transfers crack after washing even though they pressed fine?
This usually points to moisture in the powder or micro-cracks in the ink layer that were invisible before pressing. The bond holds initially but fails once the garment flexes in the wash. A stretch test on a scrap sample before pressing the real garment catches this early.
Does storing DTF transfers in the refrigerator help them last longer?
It's not recommended. Cold storage introduces condensation when you bring the film back to room temperature, and that moisture is exactly what damages the powder. A dry, room-temperature cabinet is better than a fridge every time.
Should I throw out transfers that have been stored for over a year?
Not automatically. Inspect and test them on scrap first. Some prints survive a year in good conditions, and others fail after two months in bad ones. The test takes two minutes and tells you more than the date on the bag ever will.