
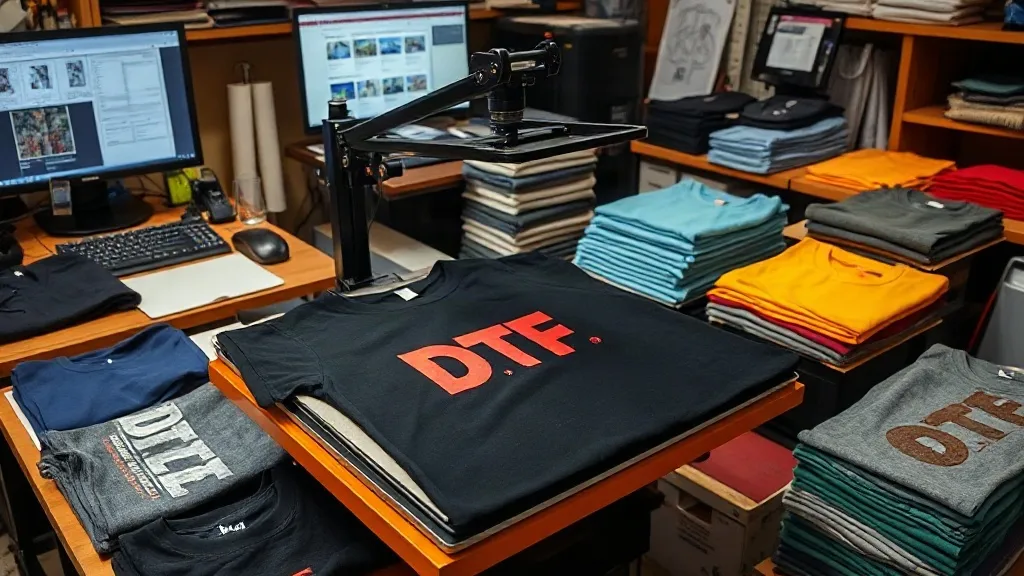
When you run a print shop, every second counts. Choosing the right blank for your DTF transfers can make or break your workflow. shaka wear has become a go-to for many shops thanks to its consistent quality and fabric options that cater to different styles. But how do you integrate these blanks seamlessly into your daily operations? This playbook offers practical, experience-based advice to help you get the most out of Shaka Wear blanks with DTF printing, from fabric prep to final quality check.
Why Shaka Wear Blanks Fit the DTF Workflow
DTF printing demands blanks that can handle heat and pressure without sacrificing comfort or durability. Shaka Wear offers a range of fabrics, including 100% cotton and cotton-poly blends, each with its own characteristics. The key is to understand how these fabrics interact with DTF transfers. For instance, heavyweight cotton provides a substantial canvas that holds prints well, while blends offer stretch and a softer hand feel. By matching the right blank to the right design, you reduce the risk of wrinkles, scorching, and poor adhesion.
One of the biggest advantages of Shaka Wear is consistency. When you order in bulk, you can expect uniform sizing and fabric quality, which minimizes surprises during production. This reliability is crucial when you're running tight deadlines. Plus, the brand's popularity means your customers are likely familiar with the fit, adding perceived value to your finished products.
Preparing Shaka Wear Blanks for DTF Transfers
Proper preparation is half the battle. Before pressing, always pre-press the garment to remove moisture and wrinkles. Set your heat press to around 330°F (165°C) and press for 5-10 seconds. This step also helps shrink the fabric slightly, preventing unwanted shrinkage after the final press. For Shaka Wear's heavier fabrics, you might need a slightly longer pre-press to ensure all wrinkles are eliminated.
Another critical step is lint removal. Use a lint roller or compressed air to clean the surface. DTF transfers adhere best to a clean, smooth surface. Skipping this step can lead to small particles getting trapped under the transfer, causing imperfections.
Pressing DTF Transfers on Shaka Wear Blanks
The pressing stage is where precision matters. For most DTF transfers, set your press to 300-325°F (150-160°C) with medium pressure. Place the transfer on the garment, cover with a Teflon sheet or parchment paper, and press for 10-15 seconds. Peel the carrier film while hot (or cold, depending on the transfer type) and then post-press for another 5-10 seconds with a cover sheet to ensure full adhesion.
Shaka Wear's cotton fabrics may require slightly higher pressure to ensure the transfer penetrates the fibers. However, be careful not to over-press, as this can cause the print to flatten or scorch. Always test on a scrap piece of fabric first. For blends, lower the temperature slightly to prevent melting or discoloration.
Quality Control and Finishing Touches
After pressing, inspect each garment carefully. Check for adhesion issues, especially around edges and seams. A quick stretch test can reveal if the transfer is properly bonded. If you notice lifting, re-press with a cover sheet for a few more seconds. Also, verify that the print aligns with the garment's seams and that there are no wrinkles or folds underneath.
For a professional finish, consider adding a care label or tag that instructs customers on washing the garment inside out to prolong the print's life. This small step adds value and shows attention to detail.
Maximizing Efficiency with Shaka Wear and DTF
To streamline your workflow, organize your Shaka Wear blanks by size and color before starting a batch. Use a DTF Gangsheet Builder to arrange multiple designs on a single sheet, reducing waste and press time. Group similar fabrics together to avoid frequent temperature adjustments. Keep a log of press settings for different Shaka Wear styles to build a reference for future jobs.
Invest in a heat press with accurate temperature control and even pressure distribution. This is especially important when working with Shaka Wear's heavier fabrics, which can be less forgiving if the press is uneven. Regularly calibrate your press to ensure consistency.
Common Pitfalls and How to Avoid Them
Even experienced shops run into issues. One common mistake is pressing at too high a temperature, which can cause scorching on lighter-colored Shaka Wear blanks. Always start at the lower end of the temperature range and adjust as needed. Another pitfall is insufficient pressure, leading to poor adhesion. Make sure your press is properly adjusted for the fabric thickness.
Also, be mindful of moisture. If your shop is humid, pre-press garments for a longer time to ensure all moisture is evaporated. Trapped moisture can cause bubbles or poor bonding.
Frequently Asked Questions
What is the ideal press temperature for DTF on Shaka Wear 100% cotton tees?
For 100% cotton Shaka Wear tees, set your press to 300-325°F (150-160°C) with medium to high pressure. Pre-press for 5-10 seconds to remove wrinkles and moisture, then press the transfer for 10-15 seconds. Always test on a scrap first to fine-tune.
Can I use DTF transfers on Shaka Wear blends?
Yes, DTF works well on blends, but you may need to lower the temperature slightly to avoid melting synthetic fibers. Use a temperature around 290-310°F (145-155°C) and medium pressure. Post-press with a cover sheet for best results.
How do I prevent the transfer from peeling after washing?
Proper adhesion is key. Ensure you pre-press the garment, use consistent pressure, and post-press after peeling the carrier film. Also, instruct customers to wash inside out in cold water and avoid fabric softener.
What is the best way to store Shaka Wear blanks before printing?
Store blanks in a dry, dust-free environment. Keep them folded or hung to avoid wrinkles. Before printing, always pre-press to remove any moisture or wrinkles that may have developed during storage.
How can I speed up production with multiple Shaka Wear orders?
Use a DTF Gangsheet Builder to gang multiple designs onto one sheet, reducing film waste and press time. Organize blanks by fabric type and size, and keep a log of press settings for quick reference.