
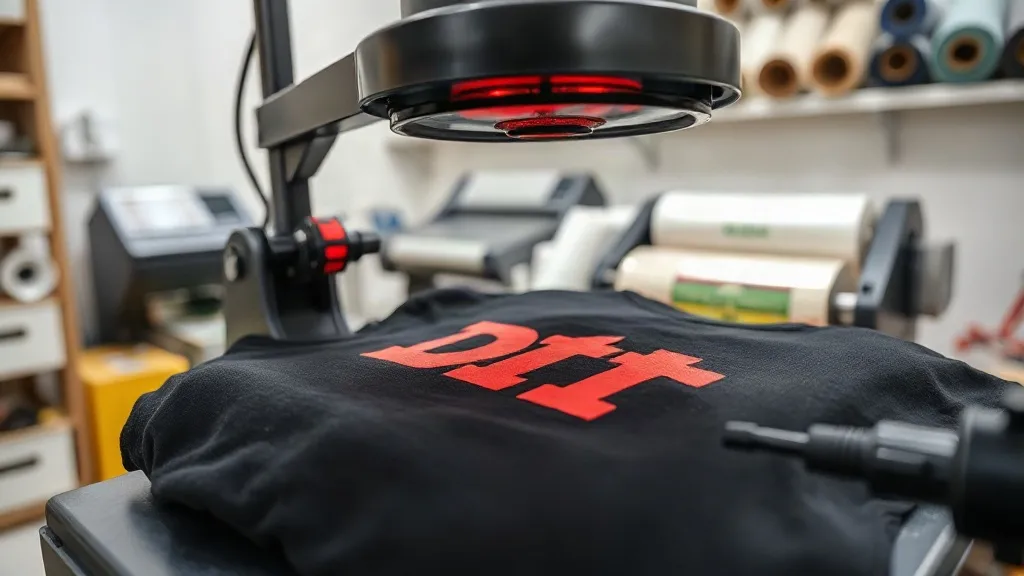
You've invested in a DTF printer, picked the right film, and followed the instructions, yet your prints still come out flawed. Maybe the colors look washed out, the transfer peels after a few washes, or the texture feels like sandpaper. These frustrations are common in dtf transfers, but they're not inevitable. In this guide, we'll walk through the most frequent problems and show you exactly how to fix them, so you can achieve professional-grade results consistently.
Why DTF Prints Fail: Understanding the Basics
Before diving into specific issues, it's important to grasp the fundamentals of dtf printing. DTF, or Direct to Film, involves printing a design onto a special film, applying adhesive powder, and then heat-pressing it onto fabric. Each step has variables that affect the final outcome. Temperature, pressure, time, ink quality, powder application, and fabric type all play a role. When something goes wrong, it's usually because one of these factors is off. By learning to diagnose the symptoms, you can quickly identify the root cause and make adjustments.
One of the biggest advantages of DTF is its versatility. It works on cotton, polyester, blends, and even tough materials like canvas and nylon. However, that versatility also means you need to adapt your process to each fabric. A setting that works perfectly on a 100% cotton t-shirt might fail on a polyester jersey. Keep that in mind as we explore solutions.
Common Problem 1: Poor Adhesion (Peeling or Cracking)
You press the transfer, it looks great, but after a few washes, edges start to lift or the whole design cracks. This is the most common complaint among DTF users. Poor adhesion usually stems from insufficient pressure, incorrect temperature, or inadequate powder application.
Check Your Heat Press Settings
Temperature and pressure are critical. For most DTF transfers, you'll want to press at 325°F to 350°F (160°C to 175°C) for 10-15 seconds. Pressure should be firm and even, typically around 40-60 PSI. If your press lacks a pressure gauge, test by pressing a piece of paper: you should see a clear, uniform impression. Inconsistent pressure leads to partial adhesion, so make sure your platen is level and the press closes evenly.
Don't Skimp on Powder
The adhesive powder is what bonds the ink to the fabric. If you apply too little, the transfer won't stick; too much, and you'll get a rough, plasticky feel. After printing, while the ink is still wet, sprinkle the powder generously over the design. Shake off the excess, then cure the powder with a heat gun or in an oven until it melts and looks glossy. A common mistake is under-curing the powder, which reduces its adhesive strength. Make sure the powder fully melts and flows.
Fabric Matters
Some fabrics, like tightly woven nylon or canvas, require higher pressure and slightly longer pressing times. Always do a test press on a scrap piece of the same fabric. Also, pre-press the garment for a few seconds to remove moisture and wrinkles, which can interfere with adhesion.
Common Problem 2: Dull or Faded Colors
Your design looked vibrant on screen, but the transferred print appears muted. This can be disheartening, especially for colorful graphics. Several factors can cause color dullness.
Ink Quality and Printer Settings
Low-quality inks or incorrect printer settings can lead to poor color saturation. Always use high-quality DTF inks designed for your printer. Ensure your printer's color profile is correctly set and that you're printing at the highest quality setting. Sometimes, simply increasing the ink density in your RIP software can make a big difference.
Powder Application and Curing
Over-powdering can dull colors because excess powder sits on top of the ink and doesn't fully melt. Use just enough powder to cover the wet ink, and shake off the excess thoroughly. Also, curing the powder at the right temperature is crucial: too much heat can scorch the ink, causing discoloration. Aim for a uniform glossy finish without dark spots.
Pressing Temperature and Time
Pressing at too high a temperature for too long can cause the inks to fade or shift. Stick to the recommended settings and avoid pressing multiple times. If you need to reposition, let the transfer cool slightly before pressing again.
Common Problem 3: Rough or Plasticky Texture
DTF transfers are known for their soft hand feel, but sometimes they end up feeling thick and rubbery. This usually happens when too much powder is used or when the powder isn't fully melted.
Optimize Powder Usage
As mentioned, use a fine, even layer of powder. You can also invest in a powder shaker for more controlled application. After shaking off the excess, you can gently tap the film to remove any loose particles. The goal is to have powder only on the wet ink, not on the clear film areas.
Ensure Proper Melting
Melt the powder completely until it forms a smooth, glossy layer. If you're using a heat gun, keep it moving to avoid hot spots. If you're using an oven, verify the temperature with an infrared thermometer. Incomplete melting leaves granular powder that feels rough.
Pressing Technique
When pressing, use a Teflon sheet or parchment paper between the transfer and the heat platen. This protects the transfer and helps distribute heat evenly. Also, avoid excessive pressure, which can flatten the ink and make it feel stiffer.
Common Problem 4: Transfer Shifting During Pressing
Nothing ruins a print faster than the transfer moving when you close the press. This can happen if the transfer isn't tacked down properly or if the garment shifts.
Use Heat-Resistant Tape
Secure the transfer to the garment with heat-resistant tape before pressing. This keeps it in place. Alternatively, you can do a quick 2-second press to tack the transfer, then reposition if needed.
Pre-Press the Garment
Pre-pressing removes wrinkles and moisture, creating a flat surface. This reduces the chance of the transfer sliding. Also, make sure the garment is completely flat on the platen.
Finding Reliable Supplies and Local Help
Sometimes, problems arise from using subpar materials. Investing in quality films, inks, and powders can save you hours of frustration. If you're looking for consistent results, consider sourcing from a reputable supplier. And if you prefer hands-on assistance, searching for dtf transfers near me can connect you with local experts who can provide troubleshooting advice or even custom prints.
At DTF Boost, we specialize in high-quality DTF transfers and supplies. Our team has years of experience helping customers overcome printing challenges. Whether you're a hobbyist or a small business, we're here to support you.
Frequently Asked Questions
Why do my DTF transfers crack after washing?
Cracking usually indicates insufficient adhesion, often due to too little pressure, low temperature, or under-cured powder. Ensure you're pressing at the correct settings and that the powder is fully melted. Also, wash garments inside out in cold water and avoid harsh detergents.
Can I use DTF transfers on dark fabrics?
Absolutely. DTF transfers include a white ink layer that makes colors pop on dark materials. Just ensure your printer is set to print the white layer and that the powder is applied evenly over the entire design.
How do I store unused DTF transfers?
Store them in a cool, dry place away from direct sunlight. Keep them flat to prevent creasing. If stored properly, they can last for several months. Avoid humidity, which can affect the powder.
What's the best way to remove a DTF transfer if I make a mistake?
While DTF transfers are durable, you can often remove them by reheating the garment and peeling the transfer off while hot. Use a heat press or iron, then gently scrape with a heat-resistant tool. Be careful not to damage the fabric.